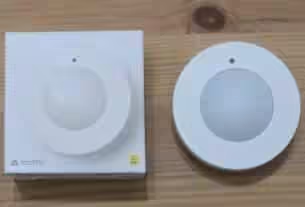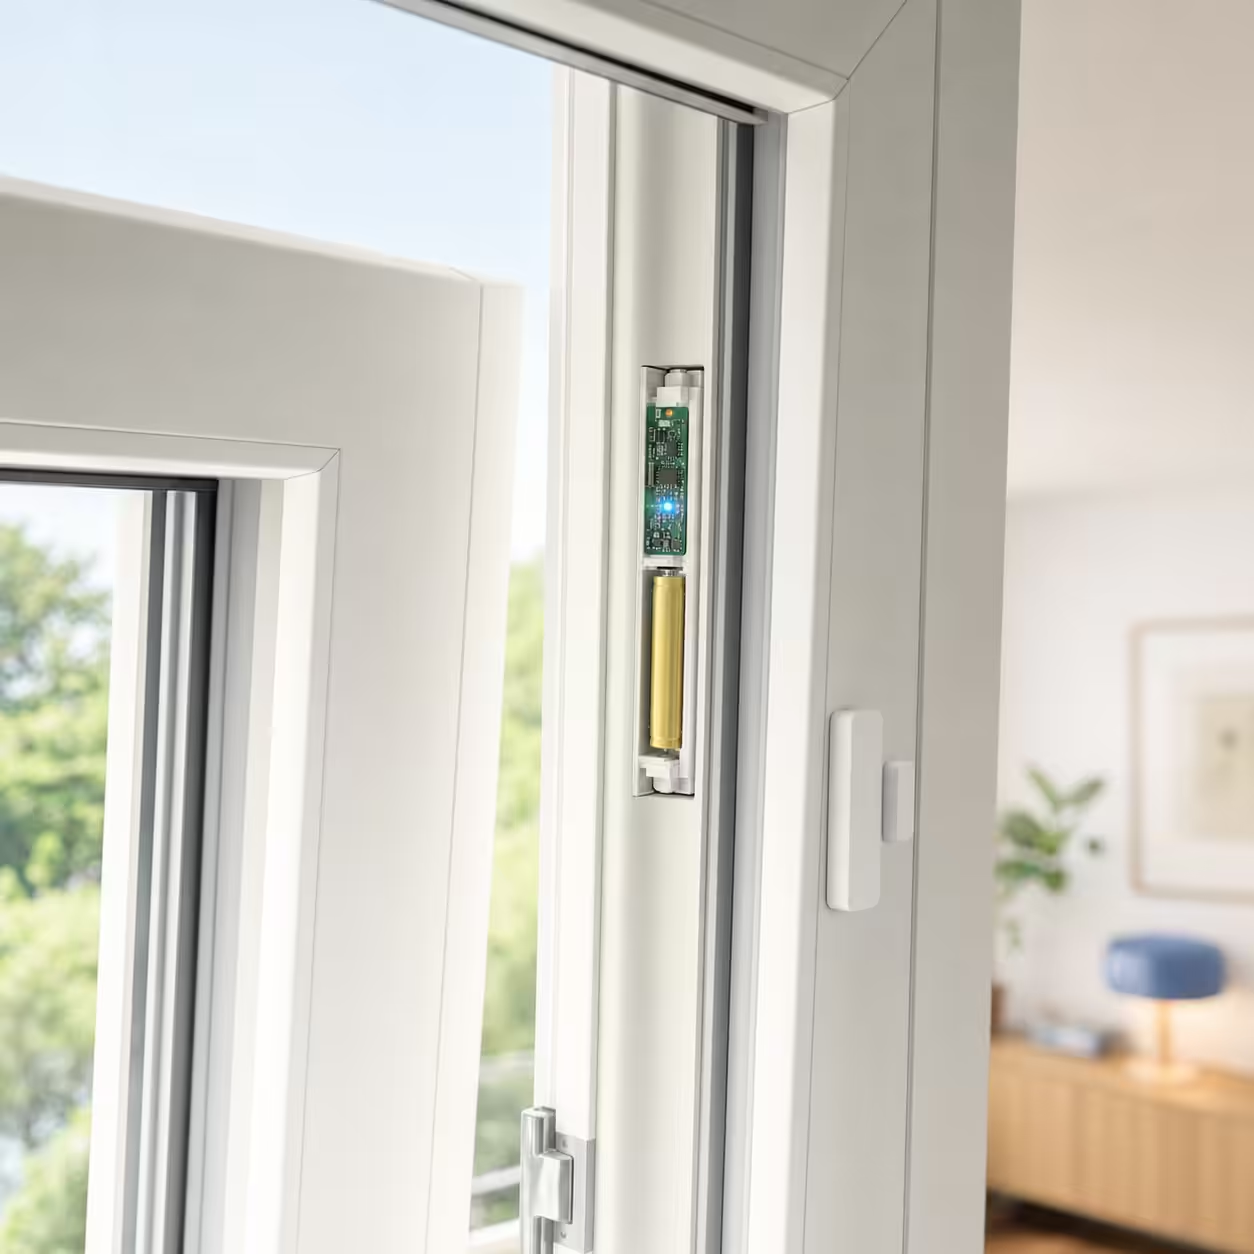
The IKEA MYGGBETT This is one of the most affordable door and window sensors with Matter support. A user on Reddit has now demonstrated how the sensor can be installed almost invisibly in a window. This involves removing the original housing and replacing it with a particularly slim 3D-printed mount.
DIY mount instead of original housing
In its original state, the MYGGBETT is visibly mounted on the window sash and frame. For his alternative mounting, the Reddit user removed the circuit board from its plastic housing and inserted it, along with the AAA battery, into a self-made holder.
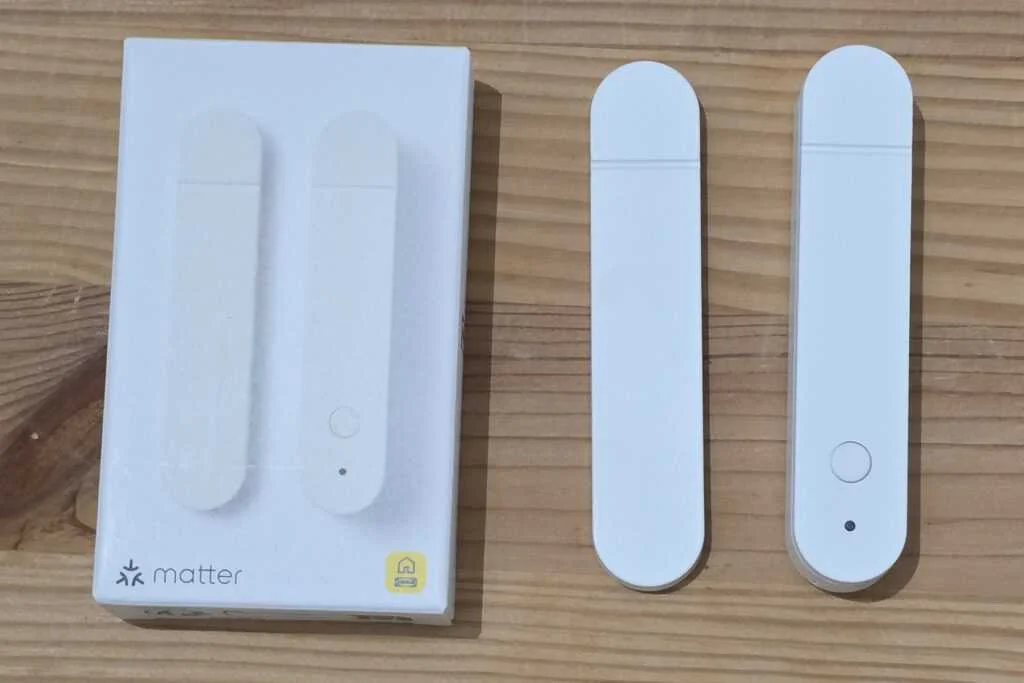
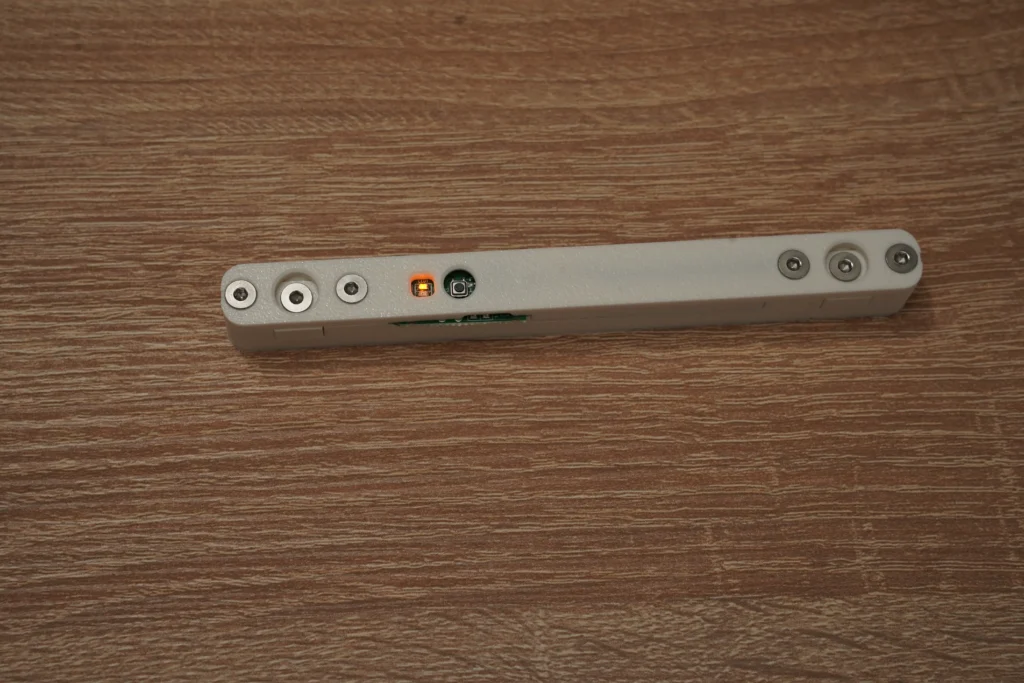
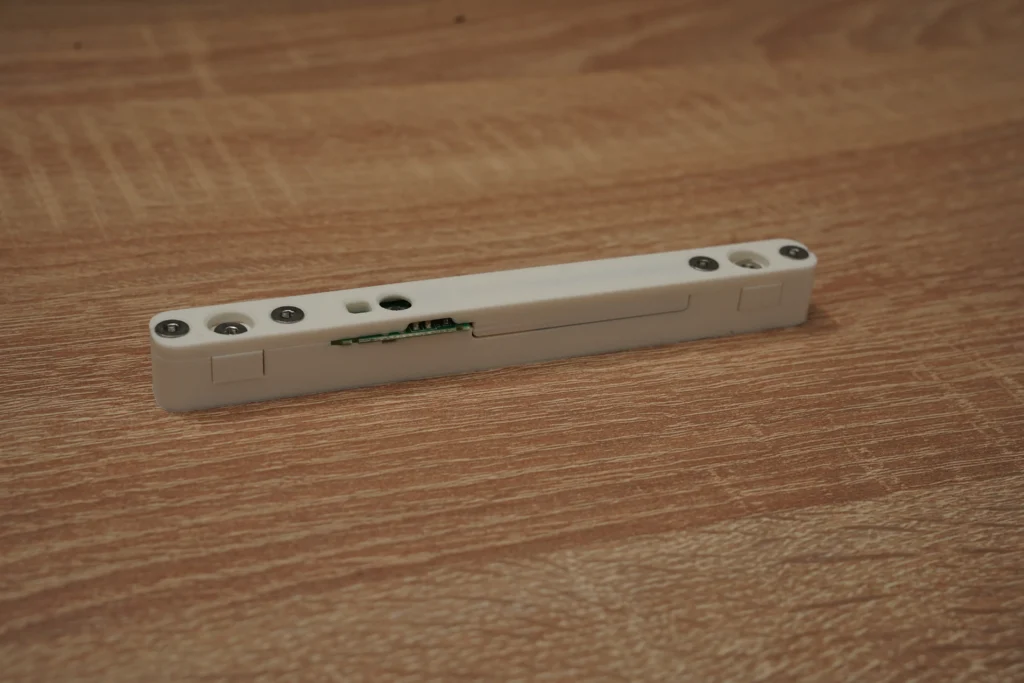
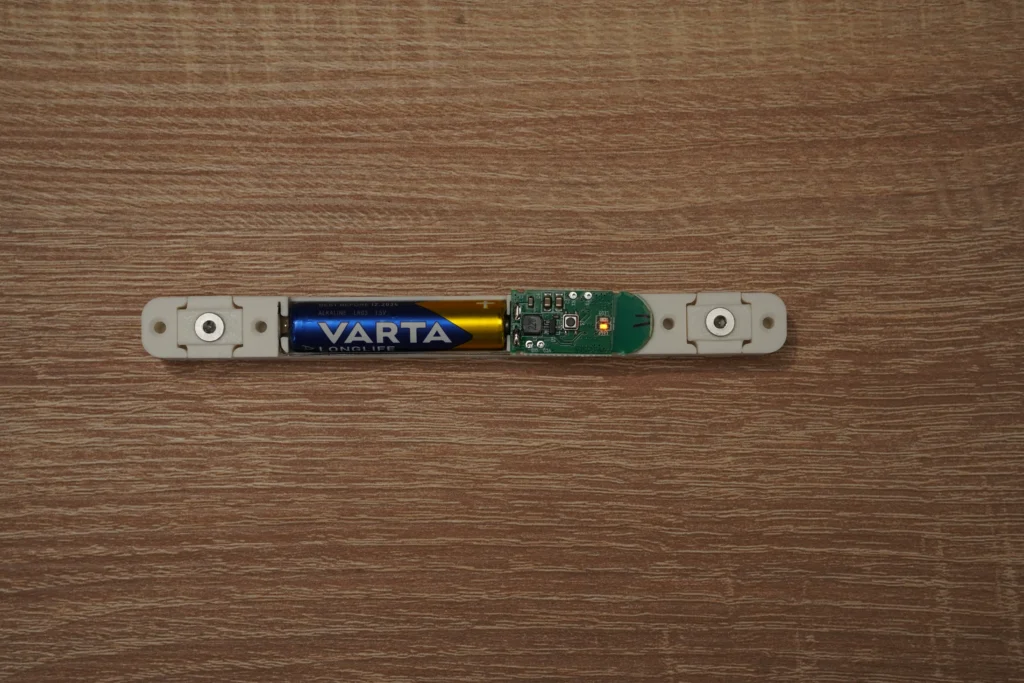
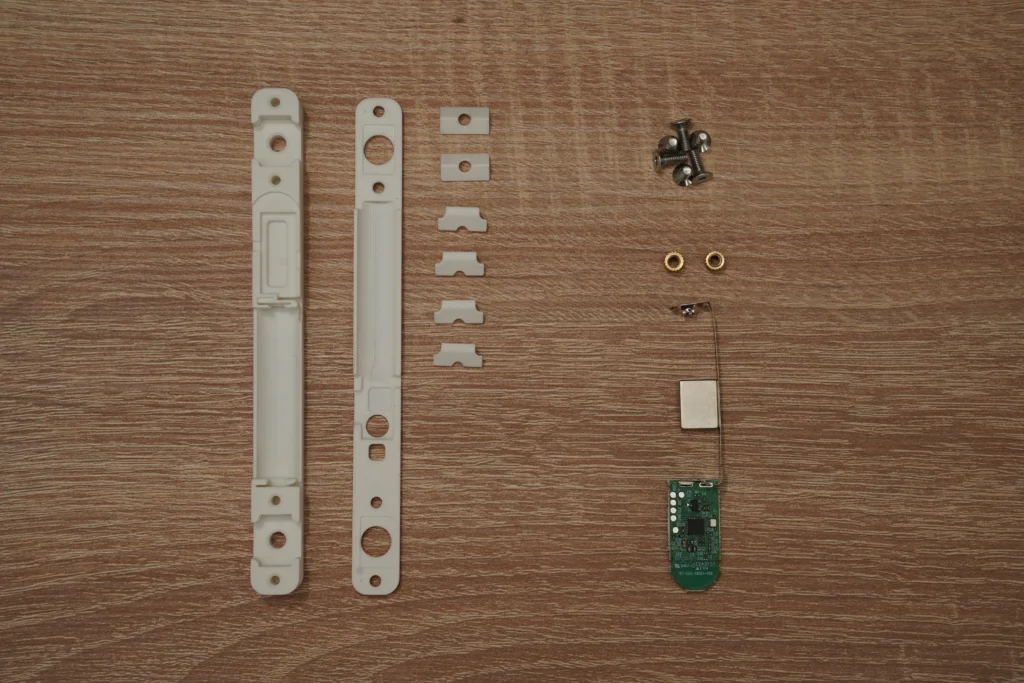
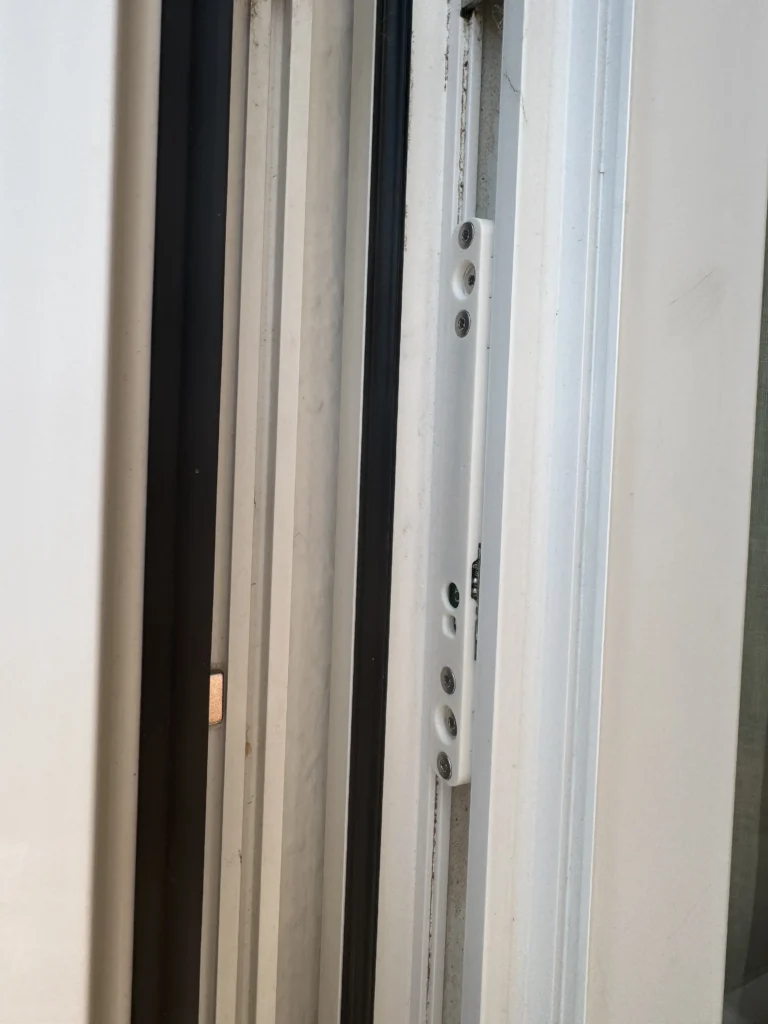
According to the manufacturer, the new bracket requires a free space of approximately 76.7 millimeters in length and at least 11.8 millimeters in width. For comparison, the original housing is approximately 81.5 millimeters long and 17 millimeters wide. Therefore, the crucial factor was reducing the width to less than twelve millimeters.
The device is installed on the hinge side of a tilt-and-turn window. The window frame requires neither drilling nor any other modification. The sensor is invisible when the window is closed.
Detection even with a tilted window
According to the developer, the detection also works when the window is tilted. However, the MYGGBETT still only reports whether the contact is open or closed. For this to work, the magnet must be attached to the opposite side.
Theoretically, two differently positioned sensors could differentiate between a tilted and a fully open window in Home Assistant. However, this would require proper installation and custom automation. Such differentiation is not part of the sensor's standard functionality.
Renovation is carried out at your own risk
Concealed installation of the MYGGBETT is not intended by IKEA. Therefore, before installation, it must be carefully checked whether there is sufficient space in the respective window. The window must not exert any pressure on the circuit board, the battery, or the mounting bracket when closed.
Special care must also be taken with the battery contacts to prevent a short circuit between the positive and negative terminals. The protection of the exposed electronics from moisture and mechanical stress must also be considered. The corresponding printable file with conversion instructions was provided on MakerWorld Published. Images of the construction and the finished installation are shown in the original. Reddit post.


![Bosch Smart Home Door/Window Contact II [+M], smart sensor for energy...](https://m.media-amazon.com/images/I/31fMbTVj+EL._SL500_.jpg)


Source/Photo: (Amazon / Reddit )

My name is Christian, and I founded this blog in 2024. I'm a trained communications electronics technician, a tech enthusiast, and a smart home aficionado with many years of experience in the field of networked household appliances. I passionately follow current developments and regularly test new products to provide clear insights and practical recommendations.