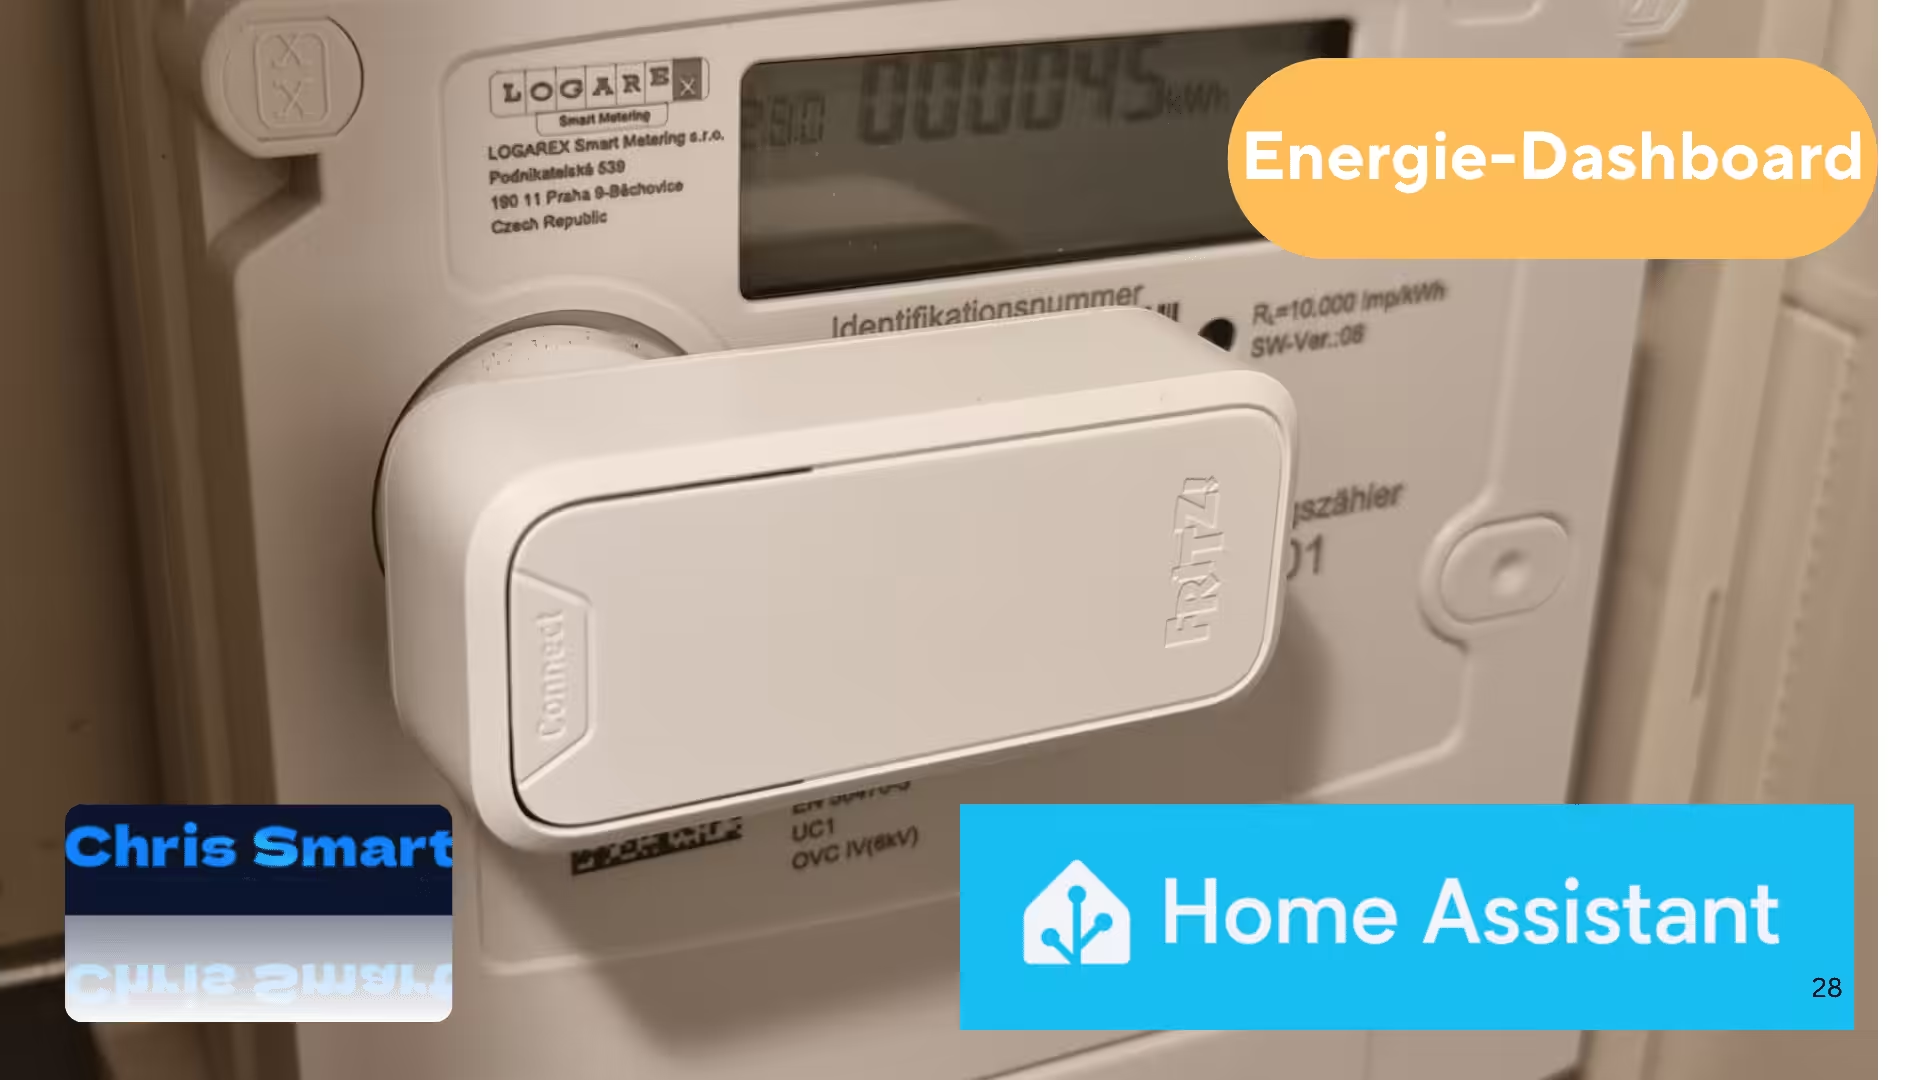
With the FRITZ! Smart Energy 250*, AVM offers a simple way to read digital electricity meters and integrate the data into your smart home. The sensor becomes particularly useful with Home Assistant, because its readings can be used directly in the Energy Dashboard. This gives you a detailed overview of electricity consumption, power drawn from the grid and, with a photovoltaic system or balcony power plant, self-consumption and grid feed-in.
Requirements for FRITZ! Smart Energy 250 and Home Assistant
The following components are required for the integration:
- FRITZ! Smart Energy 250*
- Compatible digital electricity meter
- A FRITZ! router* with smart-home automation for DECT devices, for example:
- FRITZ!Box 7690* (High performance for DSL)
- FRITZ!Box 5690 Pro* (High-end technology for fiber and DSL)
- FRITZ!Box 5590 Fiber* (Ideal entry-level model for fiber)
- FRITZ!Box 6690 Cable* (For demanding cable connections)
- A current version of Home Assistant running on suitable hardware, for example:
- Raspberry Pi*
- Home Assistant Green* (Recommended)
- Home Assistant Set*
- A configured FRITZ! Smart Energy 250
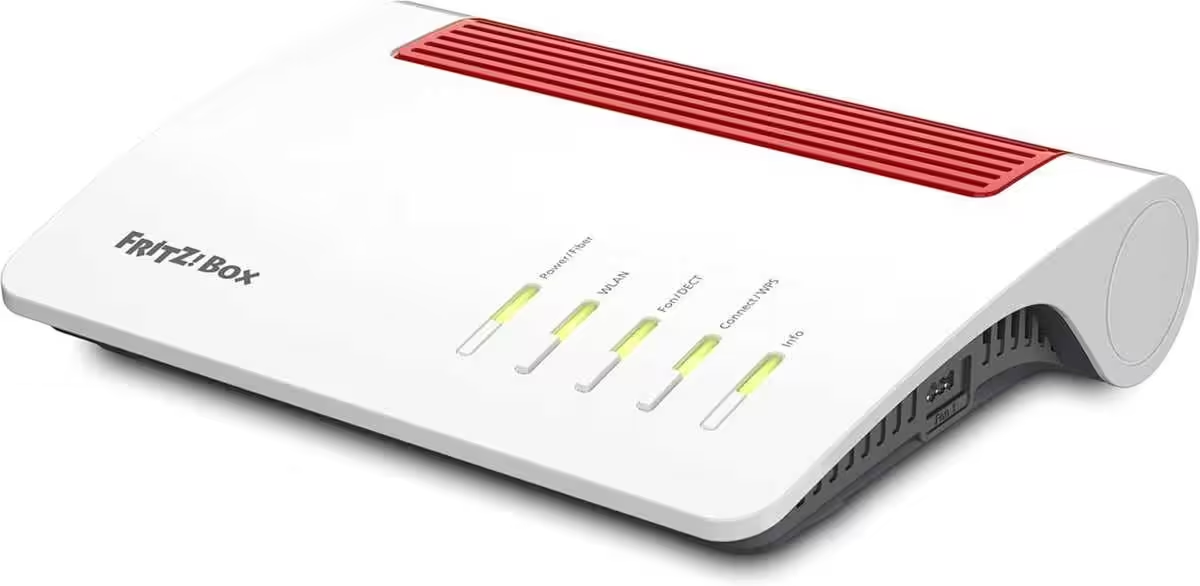
FRITZ!Smart Energy 250
Router for a fiber connection (Wi-Fi 6, up to 2,400 Mbps at 5 GHz and 1,200 Mbps at 2.4 GHz, Wi-Fi Mesh, DECT base station, 2.5 Gigabit LAN port, suitable for Germany)
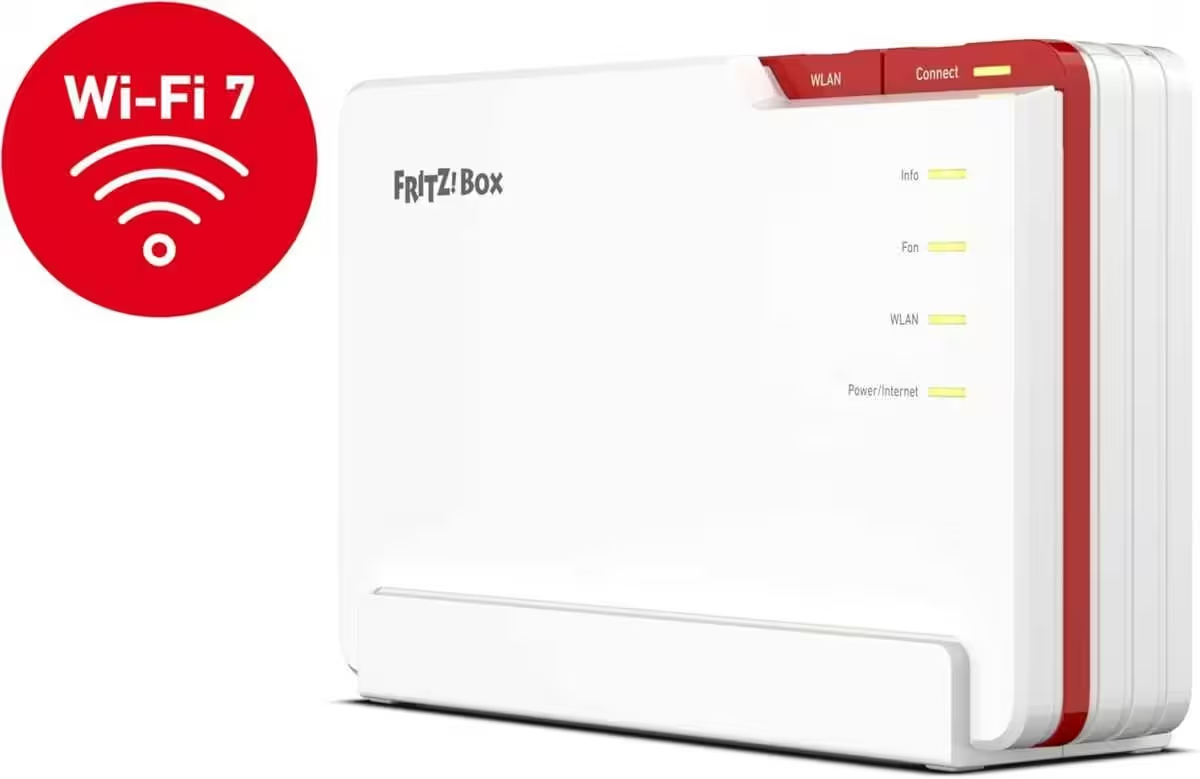
FRITZ!Box 5690 Pro
Premium Wi-Fi 7 DSL and fiber router with tri-band (2.4 GHz, 5 GHz, 6 GHz) up to 18.5 Gbps, for fiber and DSL connections, Wi-Fi Mesh, DECT base station
Sensors provided by the FRITZ! Smart Energy 250
Several entities are created after setup. The following sensors are particularly relevant for the Energy Dashboard:
- Energy consumption (kWh)
- Energy fed into the grid (kWh)
- Current power (W)
- Voltage (V)
- Current (A)
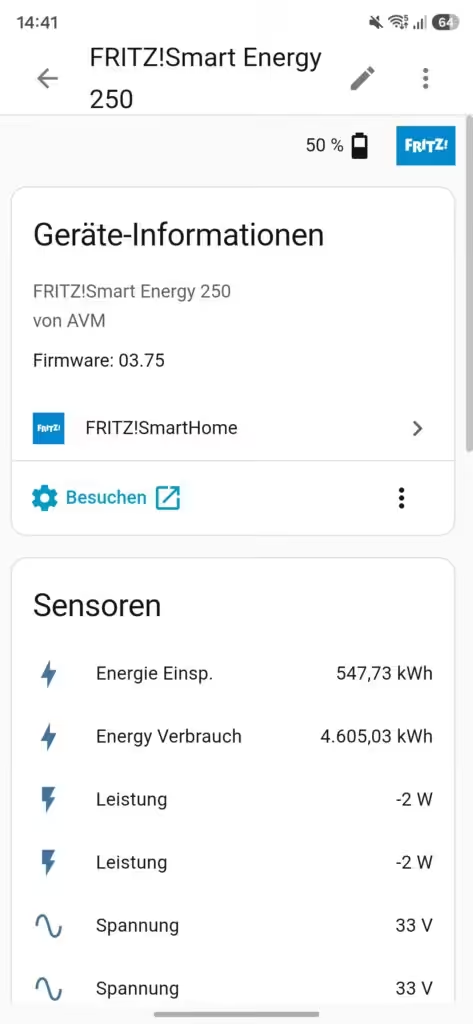
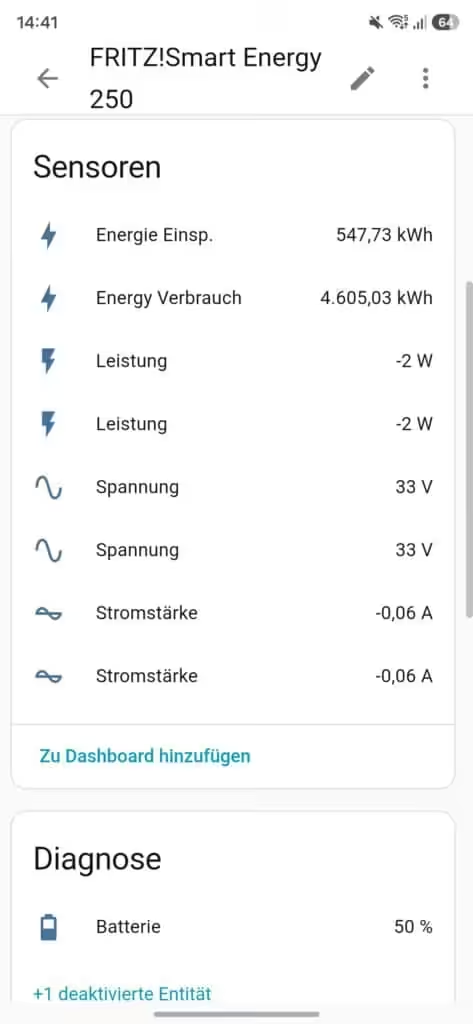
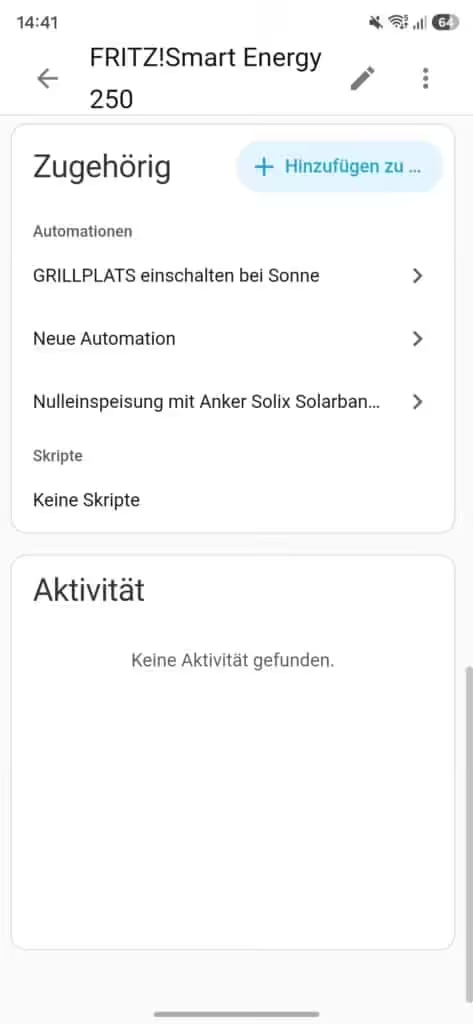
The two energy sensors form the basis for integration into the Energy Dashboard. Some values appear twice. This is probably related to the use of a bidirectional meter; in practice, however, the displayed values do not differ.
Set up FRITZ! Smart Energy 250 in the Energy Dashboard
To display the data in Home Assistant’s Energy Dashboard, the “Energy feed-in” and “Energy consumption” sensors must be assigned to the correct categories.
In Home Assistant, go to Settings → Dashboards → Energy and select the three dots or the pencil in the top-right corner. You can then assign the sensors to the appropriate sections.
Configure the grid connection:
- Energy drawn from the grid -> sensor.fritz_smart_energy_250_energie
- Energy returned to the grid -> sensor.fritz_smart_energy_250_energie_2
The entity names of the sensors can be found in the FRITZ! Smart Energy 250 detail view. Simply click the relevant sensor.
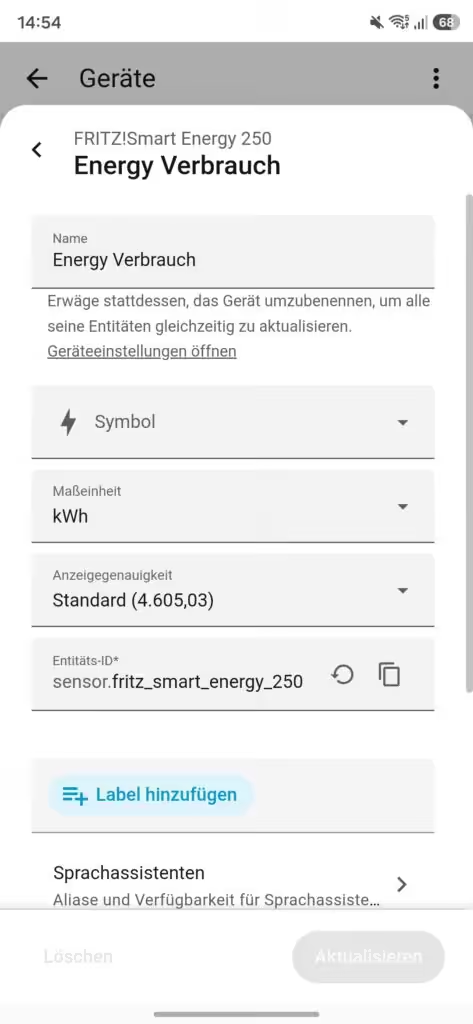
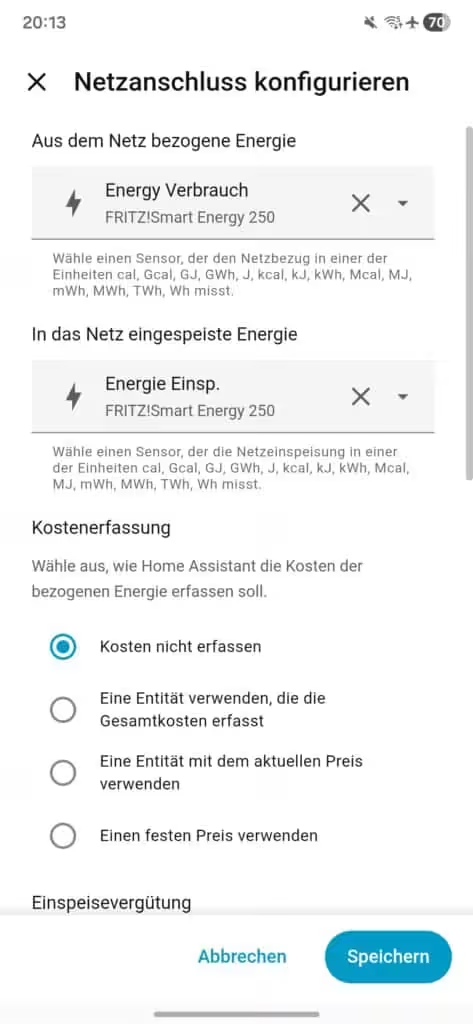
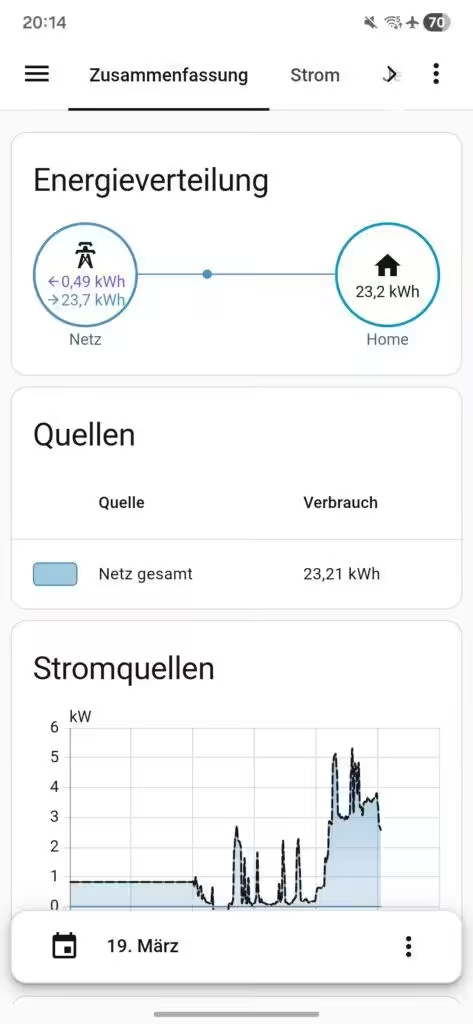
Once configured, the Energy Dashboard displays the FRITZ! Smart Energy 250 sensor readings and creates a graph showing energy distribution and electricity consumption throughout the day.
Use current power readings in automations
In addition to the energy counters, the FRITZ! Smart Energy 250 also reports current power in watts. You can use it to create automations, monitor a balcony power plant, switch off loads when demand is high or control a wallbox. The FRITZ!Box regularly sends the readings to Home Assistant. Because the data is transmitted cyclically, it is updated at intervals rather than in real time.
Conclusion
The FRITZ! Smart Energy 250 is easy to integrate into Home Assistant and works very well as a data source for the Energy Dashboard. A particular advantage is that both electricity consumption and grid feed-in are read directly from the digital electricity meter. This provides a complete overview of household energy flows without additional hardware.
A minor drawback is the cyclic data transmission. Readings are generally updated only every 30 to 60 seconds and are therefore not available in real time. This has little effect on visualization in the Energy Dashboard. Most automations also work without problems because the delay is usually negligible in everyday use. The update rate may only be a limitation for very fast control tasks, such as dynamic zero feed-in from balcony power plants or photovoltaic systems.

Possible alternatives are listed here:
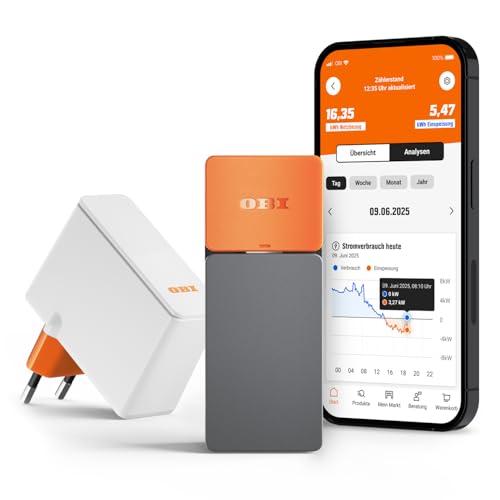
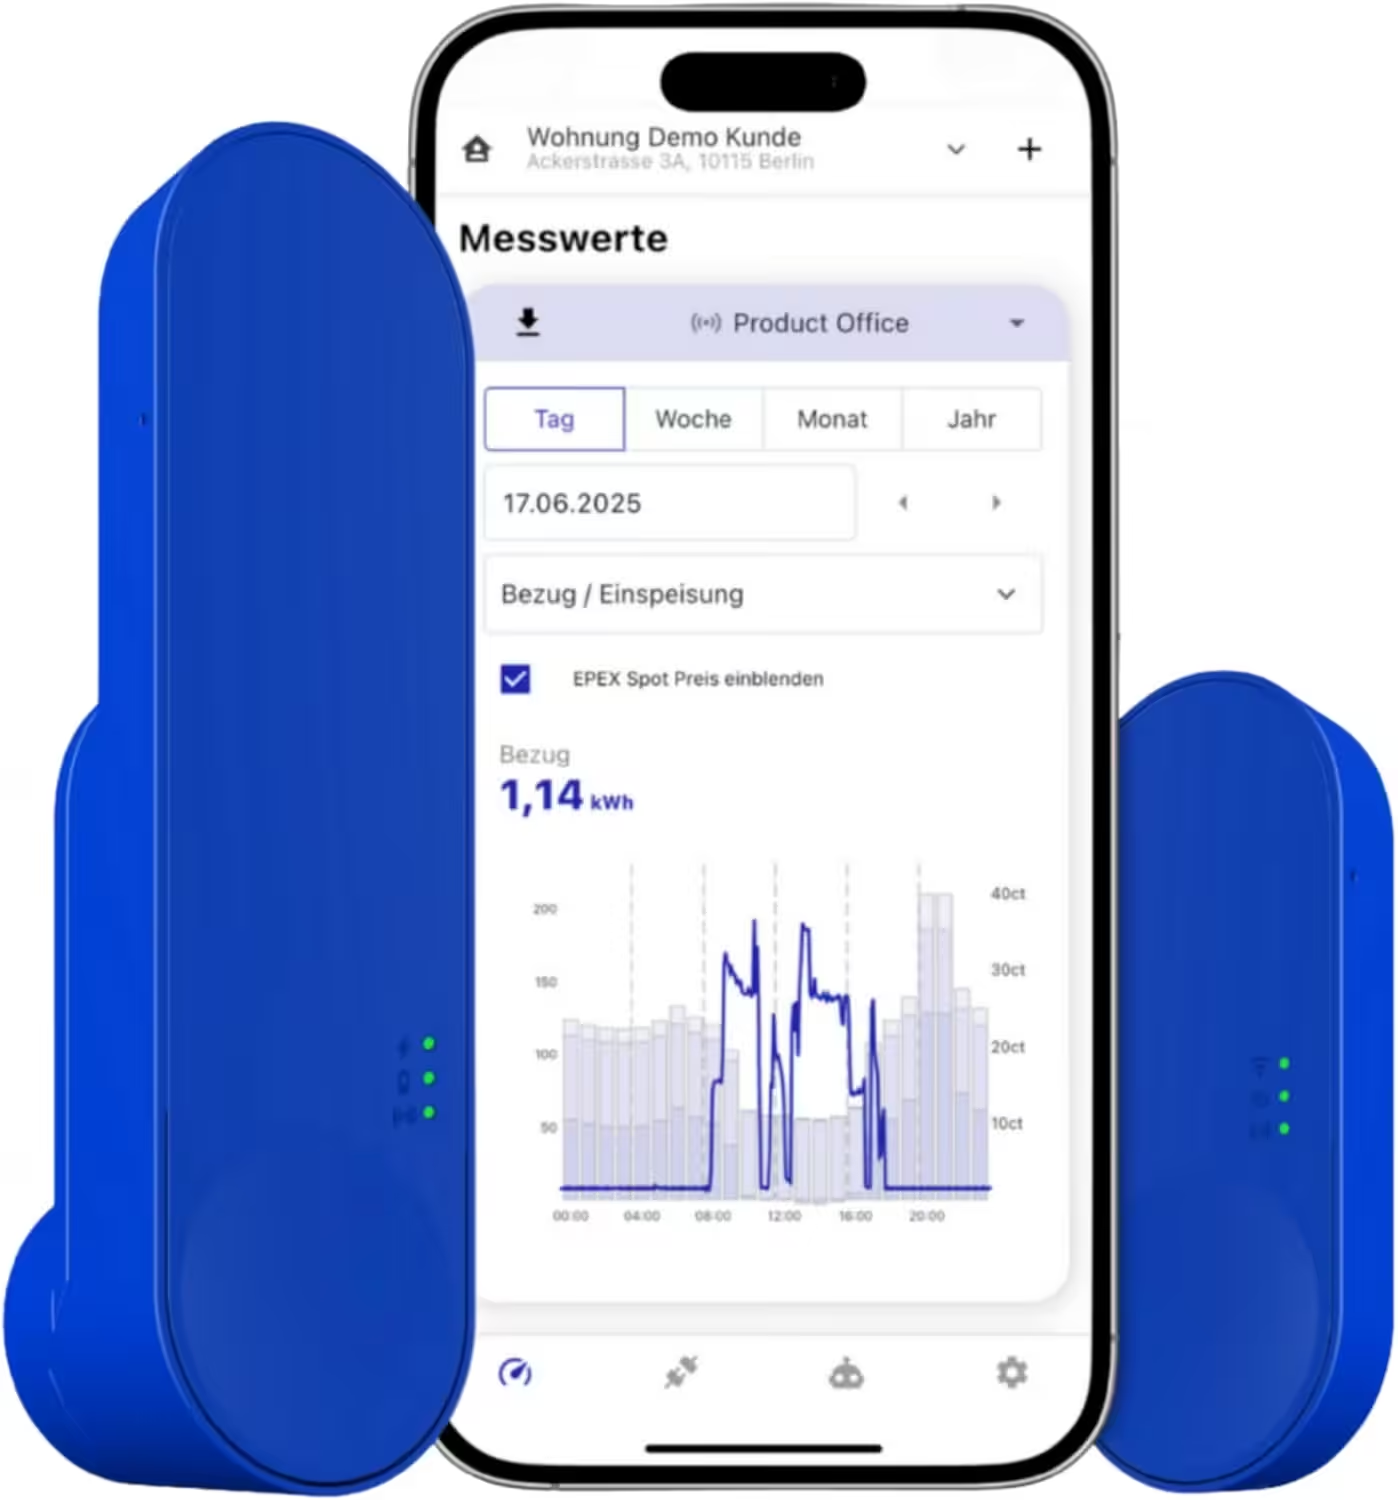
IOmeter SmartMeter
Read a smart electricity meter with an infrared reading head, Wi-Fi and app – powered by battery or USB-C – compatible with Home Assistant
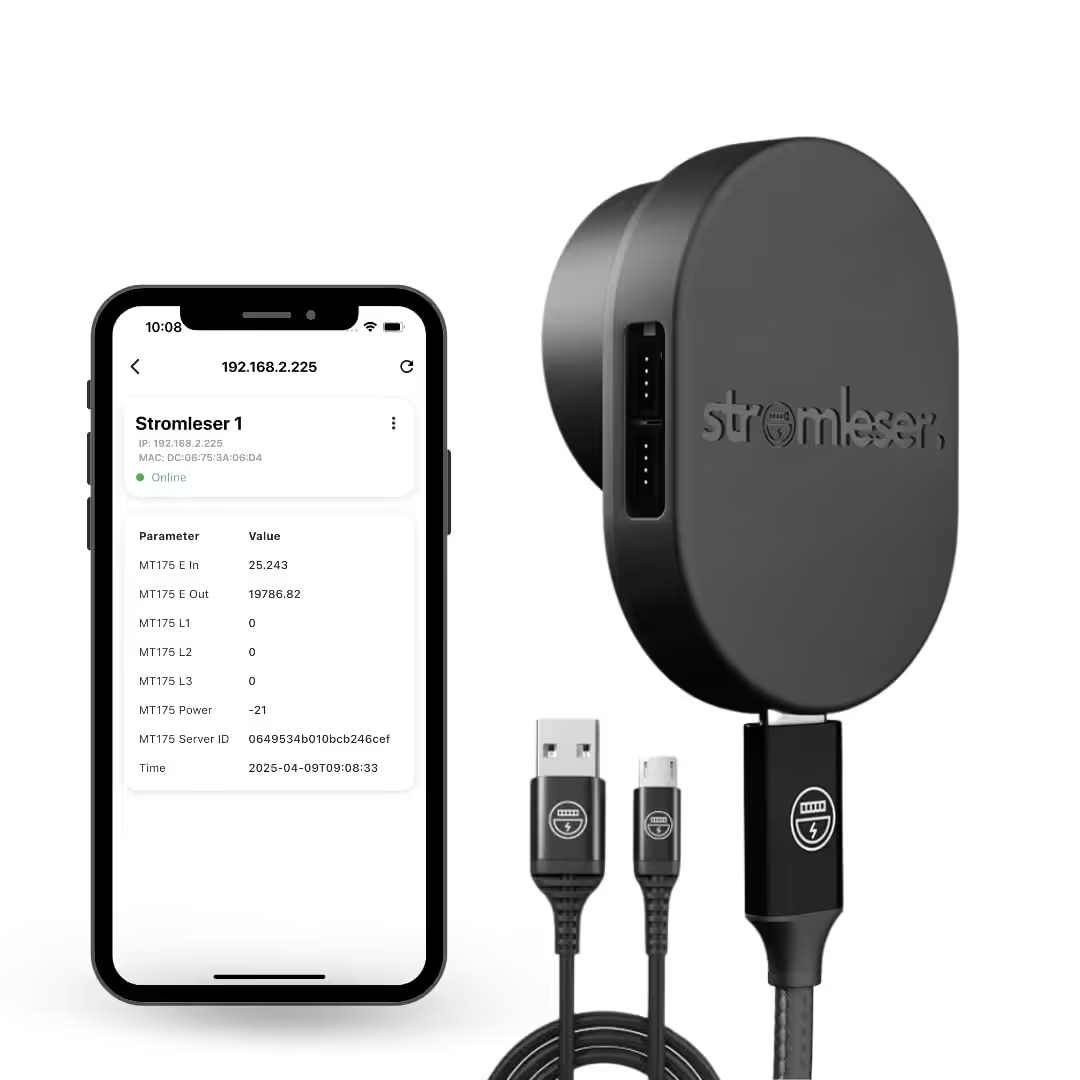
Tasmota electricity meter reader
Read electricity meters via Wi-Fi, with Tasmota software for smart-home integration
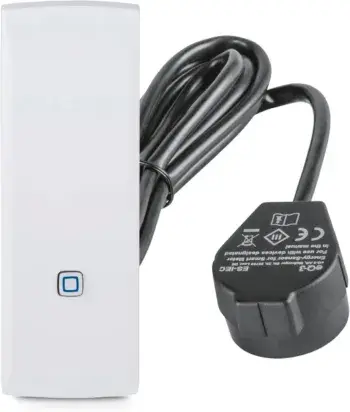
Homematic IP smart-home interface for smart meters and household meters
Measure energy and save costs, monitor electricity in the app, automate your smart home
Source/Photo: (fritz.com / Amazon / Chrissmart)

Ich bin Christian und habe den Blog 2024 gegründet. Ich bin gelernter Kommunikationselektroniker, technikbegeistert und Smart-Home-Enthusiast mit langjähriger Erfahrung im Bereich vernetzter Haushaltsgeräte. Mit großer Leidenschaft verfolge ich aktuelle Entwicklungen und teste regelmäßig neue Produkte, um verständliche Einblicke und praxisnahe Empfehlungen zu geben.